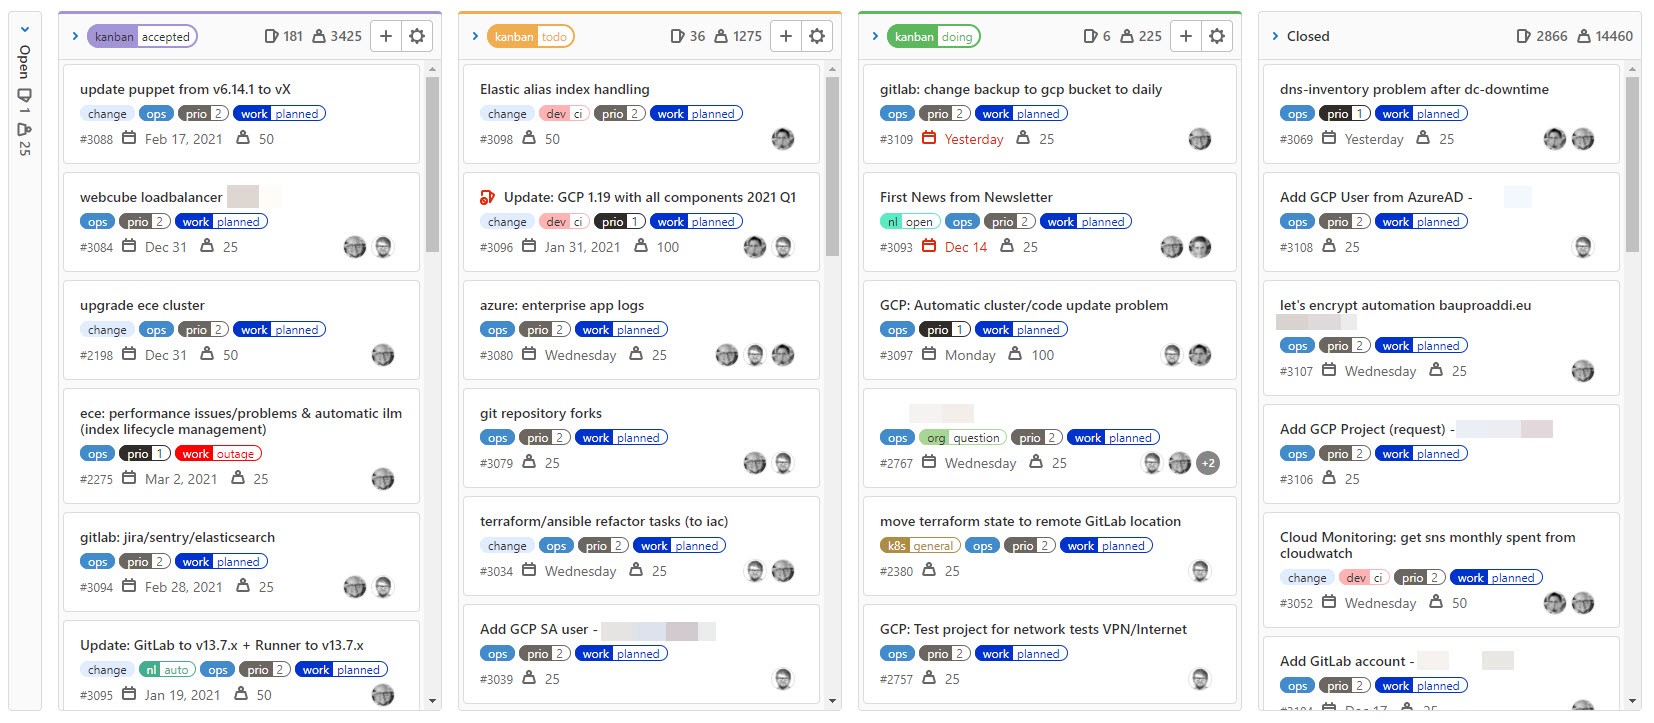
Rescued by Kanban!
A review on how we changed our work to Kanban to gain back control over work tasks two years ago. But not only that, with Kanban shifting from on-premises to home work during COVID-19 was easy for us! …
Posted on: Sat, 26 Dec 2020 Estimated reading time: 1 mins

Writing a Kubernetes operator is en-vouge!
This is a story about why we wrote an Apache HTTPd based ingress operator for GCP’s GKE and why you should do the same (incl. some tips). Since a couple of years, the operator- and controller pattern …
Posted on: Sun, 13 Dec 2020 Estimated reading time: 1 mins

We reinvented our working culture...
by refurbishing the way we communicate! I’m someone who’s always looking forward, and if something does not work as it should anymore, I don’t hesitate to change or discuss it with my team. Over the …
Posted on: Mon, 23 Nov 2020 Estimated reading time: 1 mins
Learning from an internship is...
…the best thing you can do for your team and yourself and here’s why! If you are following me on Medium or if you watched some of my past conferences talks you will notice, that I’m often …
Posted on: Sun, 25 Oct 2020 Estimated reading time: 1 mins

The most important skill in IT is communication, no matter what!
Technology matters, but people matter most! “To communicate” cannot be stressed enough! I’ve worked for more than 20 years in the information technology field until now and I think, there are some …
Posted on: Fri, 09 Oct 2020 Estimated reading time: 1 mins
How to make GitLab Kubernetes GKE deployments in a flexible way including 100% GitOps?
Helm and Kustomize are great tools for Kubernetes to create application packages and application deployments. But, there are situations or circumstances where already existing tools cannot help you. …
Posted on: Tue, 15 Sep 2020 Estimated reading time: 1 mins

Cursus — a systemwide Bash/Zsh/* command line history
Always losing your command line history when working with multiple shell windows? My colleague has written a cure against it which will help you to never lose your history again! I’ve often more than …
Posted on: Fri, 11 Sep 2020 Estimated reading time: 1 mins

Using Terraformed Google GCP Data Transfer Service makes data safer!
Creating a backup even for cloud-based data storage should be obvious! But how-to create backup jobs between different GCP projects and multiple buckets automatically? Terraform can create GCP Data …
Posted on: Thu, 10 Sep 2020 Estimated reading time: 1 mins
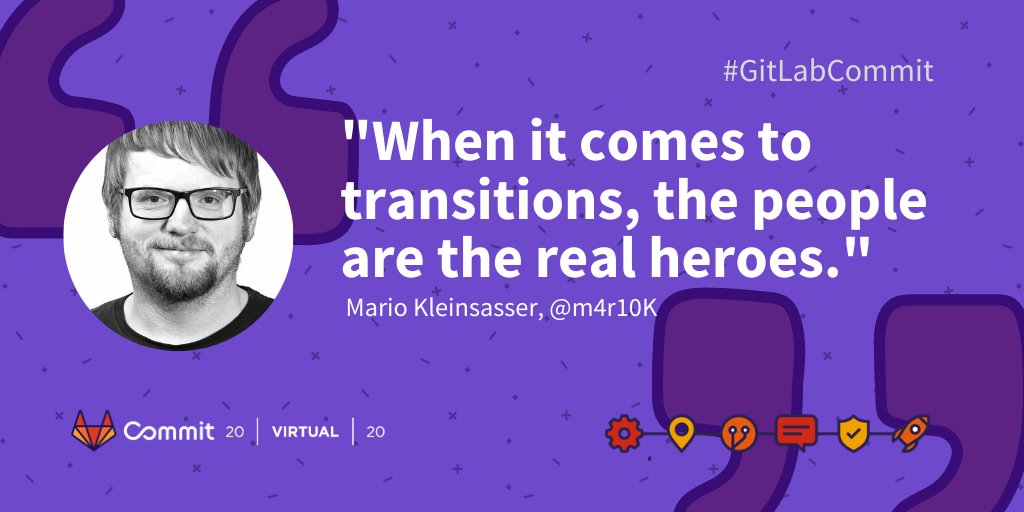
Virtual GitLab Commit 2020 — Behind the scenes from a speakers perspective!
On May 17th 2020 I submitted my first CFP for the virtual GitLab Commit 2020 to GitLab. I thought a lot about, what could be an interesting topic to show up there because there never was a virtual …
Posted on: Thu, 03 Sep 2020 Estimated reading time: 1 mins

Panoptikum
The next try to be more productive with writing and to reach more people with my stories is to write on Medium. I thought about this idea more than a year ago, but I didn’t found a clue about …
Posted on: Mon, 31 Aug 2020 Estimated reading time: 1 mins
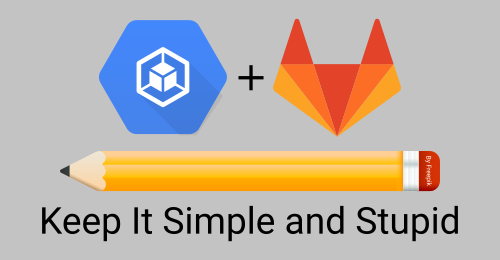
GCP GKE Kubernetes deployments with GitLab the KISS way
Simple, flexible, traceable and reproducible GitOps based Kubernetes deployments - no Helm, no Kustomize - just templates. There are many tools out there which are all great and these tools are …
Posted on: Sat, 23 May 2020 Estimated reading time: 3 mins

GCP, Ansible and GitLab - Part II
Following the the blog post GCP, Ansible, GitLab and Puppet - Part I here comes part II of it. As you may have noticed, currently Puppet is not uses for the setup for now. Therefore, I stripped it …
Posted on: Sun, 16 Feb 2020 Estimated reading time: 11 mins
